How To
Run the development stack
- To run the development stack, you must haver docker and docker compose properly installed. You should run
docker compose -f local.yml up -d
- Now you should wait a little bit. check the logs to see whats happening:
docker compose -f local.yml logs -f
We have created a nice management command to setup everything for you.
docker compose -f local.yml run --rm django python manage.py dev_settings
You can check what this command does to replicate it while deploying in production
If everything went fine, you should have the following running services and exposed ports:
http://localhost:8000 - Rocket Connect Admin User/Password: admin/admin
http://localhost:3000 - Rocket Chat Server. User/Password: adminrc/admin or agent1/agent1 or manager1/manager1
http://localhost:80 - Livechat Widget Demo. A simple website with livechat installed.
http://localhost:5555 - Flower, where you see how the tasks are running. User/Password: admin/admin
http://localhost:8025 - Mailhog - A nice mailserver. The stack is configured to deliver emails there
http://localhost:21465/api-docs/ - WPPCONNECT API DOCS
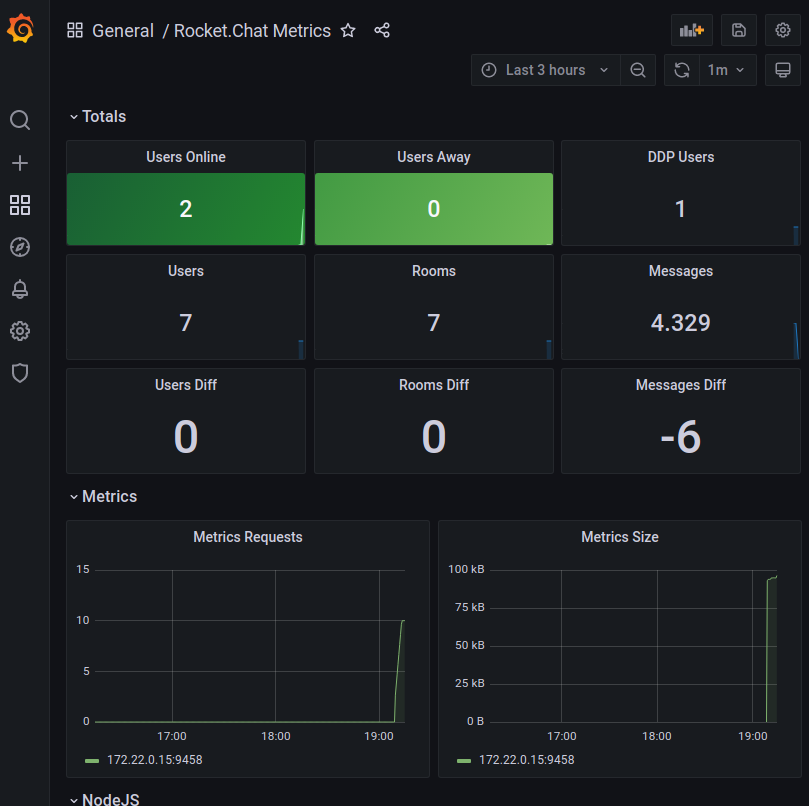
http://localhost:3001/ - Grafana Interface with Monitoring. admin/admin, then go to Dashboards > Manage > Rocket.Chat Metrics
Generating and Scanning the QR CODE
Go to Rocket.Connect (http://localhost:8000) login in (admin/admin), pick de default registered server, then go to WPPCONNECT Connector page. click at Initialize. Wait a little bit, and then click at get status. You should see the QR code at the website.
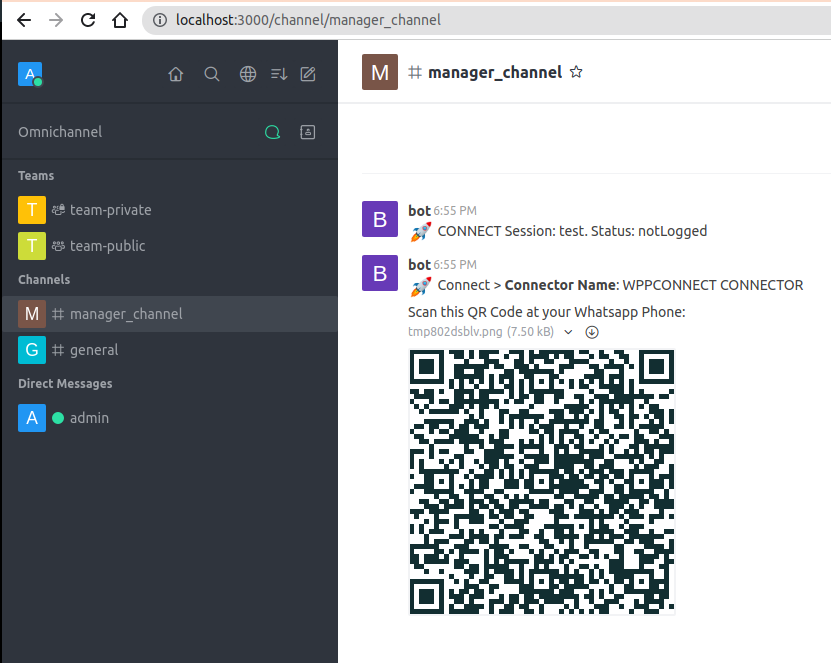
At the end, you should see the QR CODE, that should be scanned with the device you want to PAIR.
Active Chat
WPPCONNECT Connector comes with active chat.
It means that at if you go to http://localhost:3000/channel/manager_channel and type:
zapit 5531999851111@department-name Hello World!
You wil be able to open a room, transfer to the selected department and then send a message to the user.
It will try to find a Department that has department-name. If not found, it will try to look for an online agent with that name.
- Which means that
zapit 5531999851111@agent1 Hello World!
will also work.
Monitoring with Grafana
Emulating an incoming message
c = Connector.objects.get(external_token="WPP_EXTERNAL_TOKEN")
ConnectorClass = c.get_connector_class()
payload = {"payload": "here"}
connector = ConnectorClass(c, json.dumps(payload), "incoming")
get a message connector class initialized
message_id = 1234
m = Message.objects.get(pk=message_id)
connector = m.get_connector()
Resetting the dev environment
Run: docker compose -f local.yml stop docker compose -f local.yml rm docker volume rm $(docker volume ls | grep rocketconnect | awk ‘{print $2}’)
Configuring Facebook Messenger
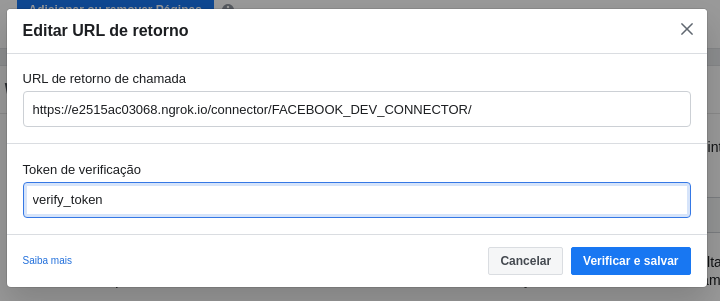
By default, the dev_settings will set up a facebook endpoint for you with the verify_token set as, well, “verify_token”. You will need to set up Facebook Messenger APP to this endpoint, and set up the verification token as… verify_token. You can run a ngrok to help do that. Like this:
ngrok http 8000
You will get a temporarily hostname, that points to it. My case here:
you setup like that at your facebook messenger configuration
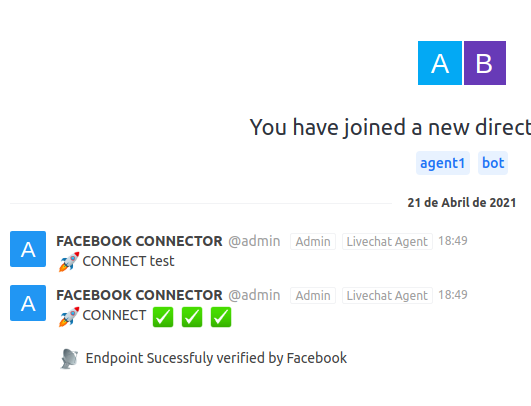
If everything went fine, will receive a message like this at Rocket.Chat
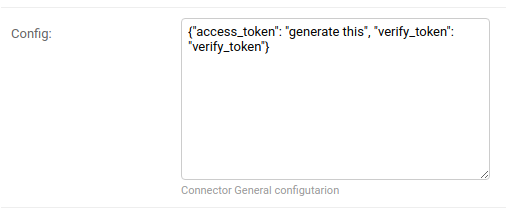
you will also need to generate a token, in order to send back messages and get more informations about the visitor.after getting this token, change the connector conigurations at: http://127.0.0.1:8000/admin/instance/connector/
you need to change the “generate this” with the token facebook will give you.
After that messages to your facebook account should be connected to RocketChat. If something goes wrong, facebook will stop sending messages for a while. That’s normal.
WPPCONNECT
WPPCONNECT is our currently community supported connector.
META CLOUD API (SPONSORS NEEDED)
SPONSORS NEEDED We plan on supporting the official Meta Cloud API for WhatsApp.
INSTAGRAM (SPONSORS NEEDED)
SPONSORS NEEDED We plan on supporting the official Meta Cloud API for Instagram.